If you haven’t read my previous post, head on over to read about my experience with scheduling Instagram posts with Lately Social. Now that you’ve read that, let’s get in to how to schedule Instagram posts using Lately Social.
Wait, What is Lately Social?
To recap for those of you who didn’t read my previous post, Lately Social is a third-party website that allows you to streamline your content strategy by enabling you to post to multiple social media platforms from one dashboard. You can post to Instagram, Youtube, LinkedIn, Pinterest, Twitter, and Facebook through one, easy-to-use interface. Post right away or schedule your posts in advance – it’s up to you! However, I’ll be teaching you how to schedule your posts on Instagram in this guide.
Make an Account on Lately Social
If you don’t have an account, you’ll have to make one. Make sure you select the Free Plan. If you want to try one of the premium plans, the Personal Plan should be enough for most individuals. The Personal Plan will cost you $9.00 a month, but your storage is upgraded to 1 GB of storage and a 200 MB file upload limit. This is compared to the paltry 2 MB of storage that the free plan nets you. If you use the free plan, save your images as .JPG or .JPEGs. Trust me on this. You can’t schedule your posts if you can only upload one graphic at a time, and that’s not even getting into carousel posts or stories.
Add Your Instagram Account to Lately Social
Naturally, before you can start scheduling your posts, you first have to link your Instagram account to your Lately Social account. If you’re following this guide for another social media platform, the process is about the same.
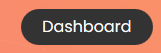
In your new Lately Social homepage, click the Dashboard button on the upper left.
This will, naturally, take you to the dashboard. Yours will be blank for now, but once you’ve got some posts up there will be a graph here showing how many of your posts were posted successfully, and how many failed. Yeah, some fail. Make sure you save your captions and your hashtags just in case you have to go the manual route!
Along the left is a panel with your menus. The social media platforms will be close to the top. Click Instagram, then click Post from the drop down menu.

This will open the Create New page. Since you don’t have an Instagram account linked, there will be a blue button on the left that says Add Account.
A new page will open with boxes for the six possible social media platforms. Find the Instagram box and once again click the blue Add Account button.
If you are using the Free Plan or the Personal Plan, you will only be able to link one Instagram account. Choose wisely if you have multiple accounts, or upgrade to the Agency Plan if it’s important to you to be able to post through multiple Instagram accounts. The Agency Plan is currently $14.00 per month.
Once you click the Add Account button, a new window will open prompting you to enter your Instagram log-in details.
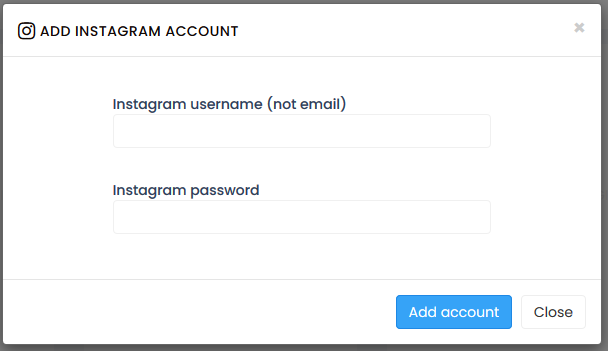
As shown, you will need to enter your Instagram username. Do not enter the email associated with your Instagram account. It will not work. Username and password only.
You will receive an email with a code from Lately Social. Make sure you check your spam folder as it may get caught in there. Enter the code into the new pop-up box. Unfortunately, I do not have a screenshot of this. You will also receive an email from Instagram alerting you to the log-in. This is Lately Social logging into your account.
Troubleshooting Tips
At this point, you should have successfully linked your Instagram to your Lately Social account. Congratulations!
However, if the above steps did not work for you, there are some things you can check.
Open your Instagram account to see if there’s an alert asking your to confirm that a log-in from a new device/location is you. Confirm that it was to remove the block.
If that does not work and you have more than one Instagram accounts that are linked together, i.e. you log in to both accounts with the same password, you will need to unlink them. Go to your user page and select the three bars at the top. Select Settings from the bottom of the menu.
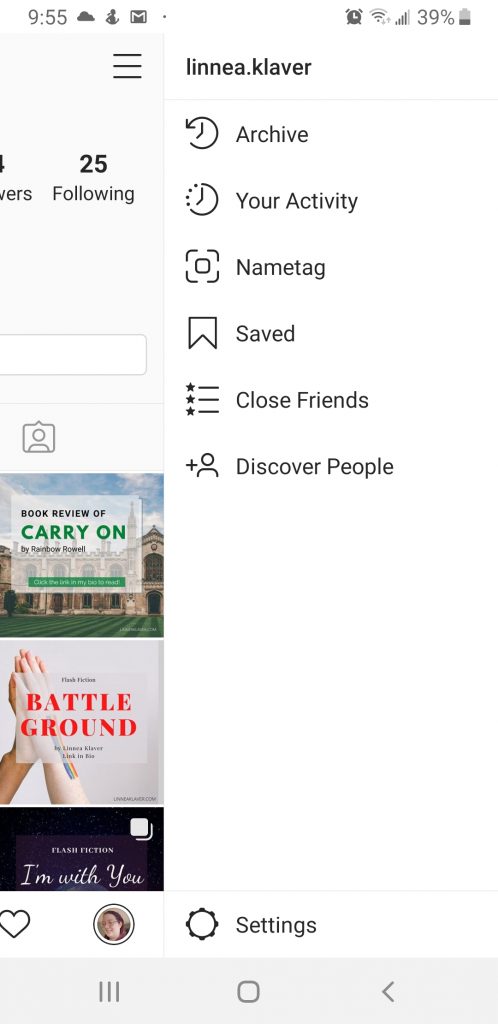
In the setting page, scroll down to your logins and there should be an option to separate the log-in information for your accounts. You will have to set a new password for the account that is being unlinked.
How to Schedule an Instagram Post
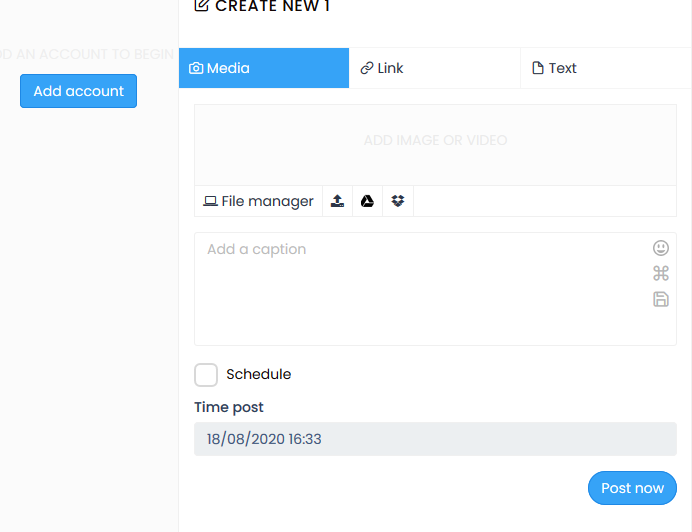
Now that you’re all set up, it’s time to get to posting! Like in the steps above, you need to click on Instagram in the side menu, then click Post from the drop down menu. Since your account is linked now, your Create New page will look something like the image below.
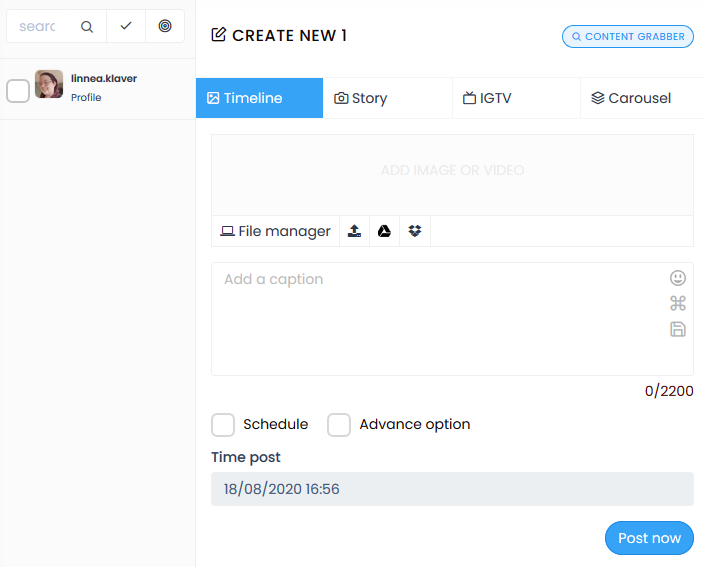
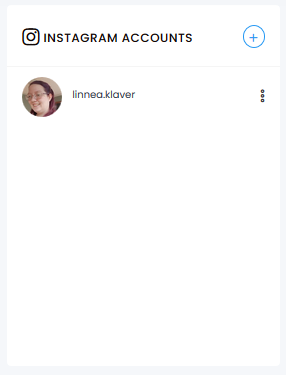
See that check box next to your username? Make sure to check it. If you have multiple accounts linked, that check box will let Lately Social know which account you want to post to. However, you still need to check it even if you have one account.
Your first step should be to select the type of post. Your options are Timeline, which is your basic single photo post; Story, to schedule an Instagram story; IGTV, for a video; and Carousel, which is the option you should select to post more than one image in a single post.
Select your post type FIRST. Otherwise, your caption and photo may be deleted if you change it later, such as from a Timeline post to a Carousel post. Don’t lose your hard work!
Now, you have a couple options to upload your content. You can upload from your computer, import from Dropbox, or import from Google Drive. If you have previously uploaded content, you’ll find it in File Manager.
Next, add your caption. There is a 2200 character limit, which includes your hashtags. If you go over the character limit or use more than 30 hashtags, your post will fail. Now, if you want to post immediately, you just hit the Post Now button. Then you’re done!
To Schedule your Instagram Post
If you want to schedule your Instagram post, there are some extra steps.
Below the caption box, there are two check boxes. One reads Schedule and the other reads Advanced Option.
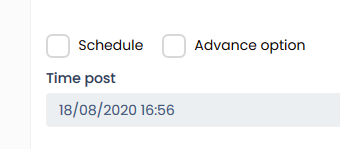
Check the Schedule checkbox, then double click the grey box that displays the date and time. This will open the calendar.
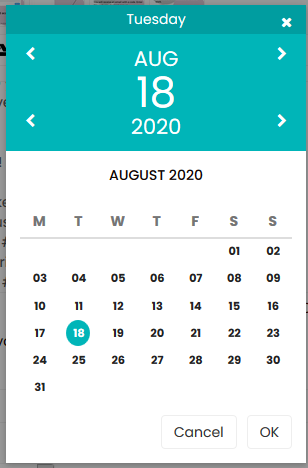
Select the date you want your content to post. Click OK once the date is selected. This will open the clock.
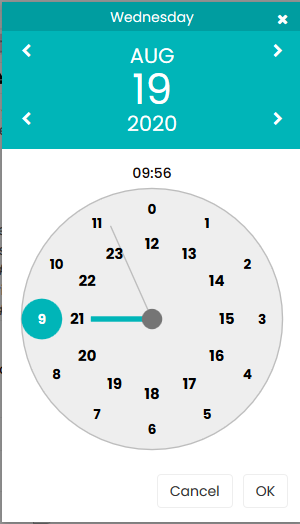
Please note that the clock is in 24 hour time. This means that if you want your content to post at 1:00 p.m., you will need to select 13. If you want your content to post at 9:00 a.m., select 9. It’s easy to make a mistake here, so pay attention.
When you’re happy with your selection, click OK.
Another clock will open allowing you to choose when you want your content to post down to the minute.
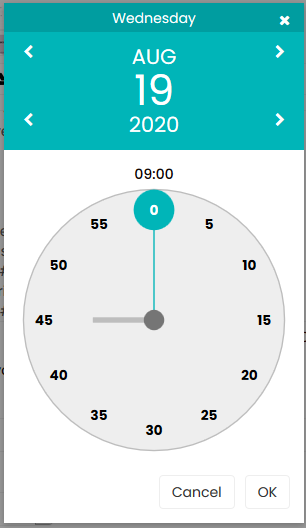
Select the time you want your content to post. If you struggle to read analogue, there is a digital display at the top that you can watch as you drag the selector around.
Click OK.
Finally, this will take you back to your Create New page. Click the blue button to schedule your post, and you’re done!
Viewing your Scheduled Posts
You can view your scheduled posts by clicking Schedules. It’s just below Dashboard on the side menu.
If you found this guide helpful, make sure to share it to help others.